

dress: Cheap Monday (old)
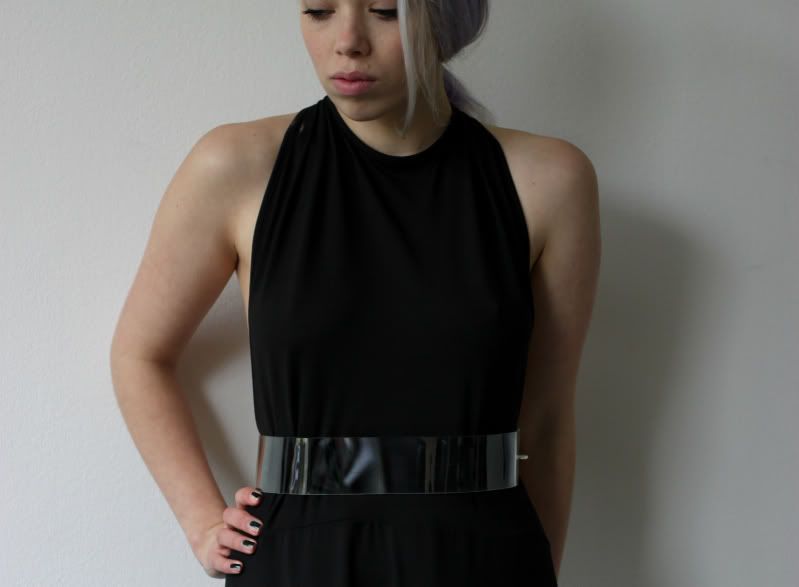
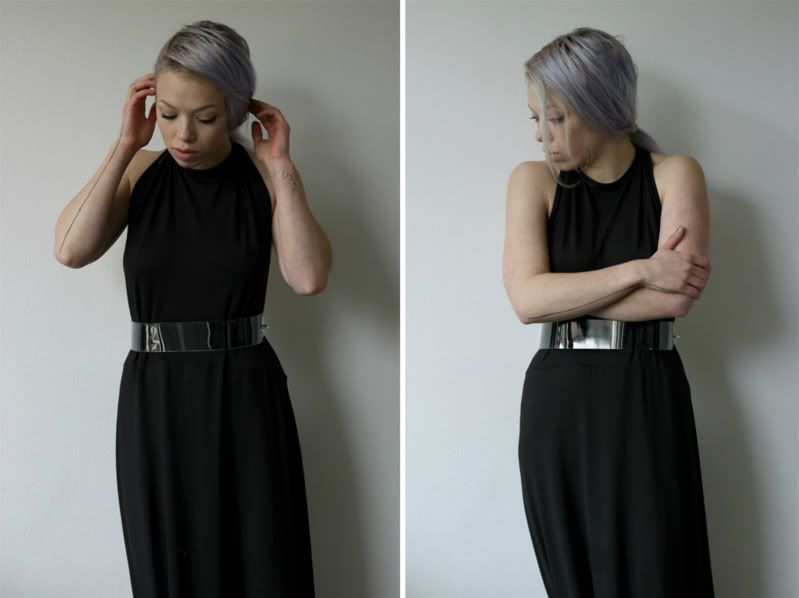
I'm sure you remember the DIY transparent arm cuffs and chokers I made out of perspex. Sandra from 5 inch and up came up with the brilliant idea to make larger versions of them to be able to use them as belts. And so that's what I've been working on today! One for myself and the other one will be on its way to London for Sandra. Below the super easy instructions for those who have a spare hour this weekend and fancy a clear belt.
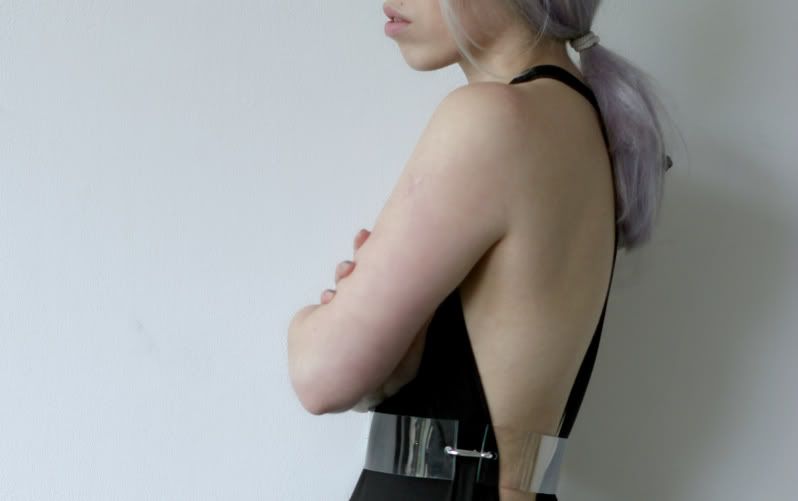
Take measurements: Measure your waist but take into account that this measurement will be slightly larger when you are seated and that you will wear the belt on top of your clothes, so add a cm or two to your waist outline. Also decide how wide you want the belt to be, mine is 5cm. As you can see the front part of the belt is slightly longer than the back so that it looks minimalistic and clean from the front.
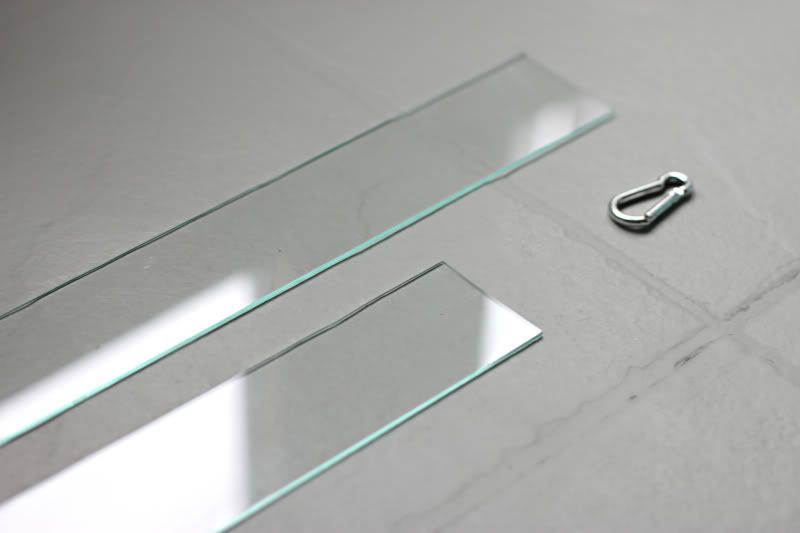
Cut the plexiglass: Making an incision with a stanley knife by letting the knife glide along a ruler. Then lay the plate of plexiglass on a table with the slit just over the edge. By pressing down you´ll be able to snap it off with a nice and clean cut. Now you should have a rectangle which you can again break into smaller pieces until you have two rectangles that are of the sizes you need. Using any kind of drilling machine (It is recommended to use a drill for metal. As I didn´t own that I used one for wood and it worked just fine.) make little holes close to the edges of your rectangles.
Bending it into shape: Heat your oven to 150 °C and put your rectangles inside one at a time on an oven plate. After 3 to 4 minutes take it out with oven mittens and bend it into shape by laying it over a round object(sauce pan? plant pot?).
Finishing: Now you can add the hardware. I used a small metal ring and a metal clasp to connect the transparent parts.
No comments:
Post a Comment